Roomba Won't Connect to Charger: Troubleshooting Tips and Solutions
Is your Roomba refusing to connect to its charger and making your cleaning routine a hassle? This common issue can disrupt the convenience of automated cleaning and leave you feeling frustrated.
Roomba charging problems are often due to dirty charging contacts or an improper connection with the dock. Understanding and addressing these underlying issues can help restore your Roomba to full functionality, saving you time and effort.
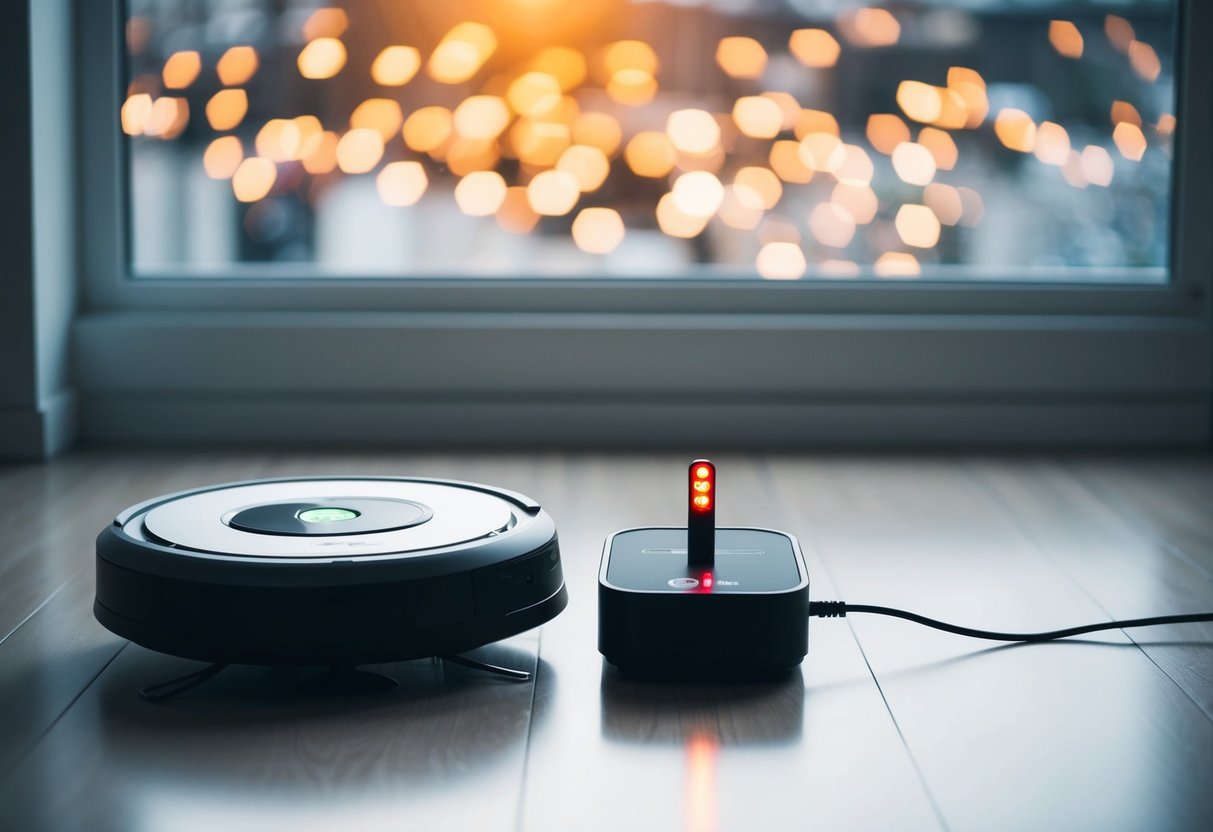
The charging system in your Roomba is designed to be user-friendly, but it's also sensitive to accumulated debris and dust.
To troubleshoot, check the dock and the Roomba's contact points for any blockage. Simply cleaning these areas with a dry cloth can often resolve the connection problem.
Regular maintenance can prevent such issues from recurring, ensuring your Roomba charges smoothly every time.
Besides cleaning, ensure the power supply is consistent and the outlet is functioning correctly. Sometimes, a faulty power cord or a tripped circuit breaker can also be the culprit. Ensuring that your Roomba’s software is up to date can also help avoid connection issues. Being proactive with these steps can keep your Roomba running efficiently, making your life easier.
Understanding Your Roomba's Charging System
Your Roomba's charging system consists of several key components, including the charging dock, charging contacts, and the Roomba battery. Each part plays a crucial role in ensuring your device charges properly and efficiently.
Components of the Charging System
The Roomba's charging system includes the charging dock, charging contacts, and the Roomba battery. The charging dock provides a station for the Roomba to recharge and includes power connections. The charging contacts on both the dock and the Roomba are metal connectors that carry the charge between the dock and the battery.
Regular maintenance, such as cleaning these contacts with a dry cloth, helps maintain a strong connection. A build-up of dust or dirt on contacts can prevent charging, highlighting the importance of keeping them free from debris.
How Roomba Docking Works
The Roomba docking process is simple yet fundamental. When your Roomba's battery runs low, it uses built-in sensors to locate the charging dock.
Once it reaches the dock, the Roomba aligns its charging contacts with those on the charging dock. This alignment is crucial for keeping your Roomba powered, as the connection allows electricity to flow into the Roomba battery.
Sometimes, obstacles or misalignments can interfere with docking. Make sure the area around the charging dock is clear, and the contacts are aligned properly.
Ensuring the dock is on a level surface with a bit of space around it helps the Roomba dock successfully and keep operating effectively.
Roomba Battery Basics
The Roomba battery is at the heart of the charging system. It stores the power that keeps your Roomba operating. Most Roomba models use a rechargeable lithium-ion battery, known for efficiency and durability.
Over time, these batteries may lose their charge capacity, requiring replacement. Letting your Roomba charge fully when new can extend its lifespan.
Charging time, generally around 2-3 hours, is sufficient for daily use. To maintain optimal battery health, use your Roomba regularly and keep it charged.
Replacing the battery when needed ensures good performance and longevity, making it essential to know your battery's lifespan and any signs of wear.
Troubleshooting Connection Issues
If your Roomba won't connect to its charger, several factors could be affecting the docking process. Faulty charging contacts, misalignment at the docking station, or temperature-related hiccups might be to blame.
Checking Charging Contacts
To ensure efficient charging, clean charging contacts regularly. Charging contacts are the metal areas between your Roomba and its docking station. Dirt or debris can build up on these contacts over time, preventing a proper connection.
Use a clean, damp cloth to carefully wipe the charging contacts on both your Roomba and the dock. Be gentle to avoid any damage.
Regular maintenance like this can improve charging efficiency and extend your vacuum's lifespan.
Ensuring Proper Dock Alignment
Proper alignment between your Roomba and its dock is crucial. If your robot isn't centered correctly, it may fail to charge.
Make sure the docking station is on a flat, level surface to avoid misalignment.
When you place the Roomba to charge, listen for a confirmation sound or look for the charging indicator light. These signals confirm the device and station are properly connected. Sometimes, simply repositioning the dock can resolve the issue.
Identifying Temperature Errors
Temperature errors occur if your Roomba attempts to charge in extreme conditions. For instance, if the robot is too warm after cleaning or placed near a heater, it might not charge. You may notice error messages or unusual lights if a temperature error arises.
Allow the device to cool down if it's too hot, or relocate it to a cooler place. Conversely, ensure the temperature isn’t too low either.
Proper temperature maintenance helps your Roomba perform better and charge accurately.
Power Supply and Outlet Concerns
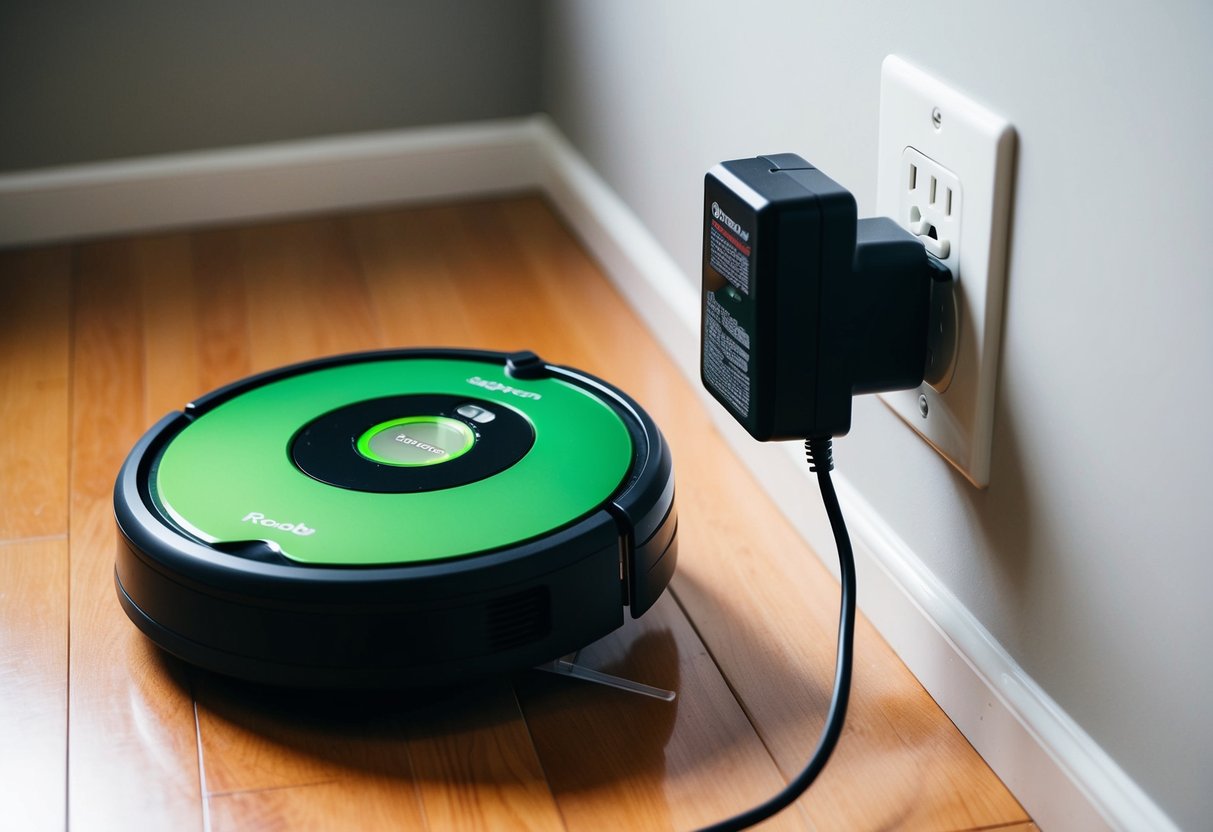
When your Roomba won't connect to its charger, the issue might be related to power supply or outlet problems. Ensuring the outlets and power cords are working properly can often solve connection issues.
Testing the Power Outlet
Start by checking if the power outlet you are using is functioning correctly. Plug another device, such as a lamp or phone charger, into the outlet. If it works, the outlet is likely fine.
If the device doesn't work, try plugging your Roomba charger into a different power outlet. Sometimes the issue is as simple as a faulty outlet.
Ensure the outlet is supplying power consistently, as intermittent power can disrupt charging. Consider using an alternative power outlet in another room to confirm the source of the problem.
Inspecting the Power Cord
The power cord connecting your Roomba to its charger may also be at fault. Examine the cord for any visible wear, fraying, or damage.
Damaged cords can prevent proper charging and might be a hazard.
To inspect, unplug the cord and run your hand along its length, feeling for any kinks or breaks. Twist and turn the cord gently to see if there are any hidden defects. If you find any issues, it's best to replace the cord with a compatible one to ensure safe and effective power delivery.
Using an Outlet Tester
An outlet tester is a helpful tool that can quickly tell if a power outlet is functioning properly. It checks for proper wiring and power flow.
To use an outlet tester, plug it into the outlet you are concerned about. The tester will display a specific light pattern or indicator if everything is working fine.
If not, it will show which issue might be present, such as a ground fault or missing neutral.
Having an outlet tested can help you determine if you need to contact an electrician to fix any underlying electrical problems.
Maintenance Tips for Reliable Charging
For consistent charging with your Roomba, focus on cleaning the charging contacts, maintaining the caster wheel, and taking care of the docking station. These steps help ensure efficient power transfer and prolong the life of your device.
Regular Cleaning of Charging Contacts
Ensure your Roomba's charging contacts are clean and free of debris. Dust and grime can block the connection, preventing it from charging properly.
Use a clean, dry cloth to wipe both the contacts on the Roomba and the charging dock.
Regular cleaning, ideally once a week, can help keep these metal connectors in good condition. If you notice any stubborn dirt, you might need to use a slightly damp cloth.
Caster Wheel Maintenance
The caster wheel helps your Roomba move around smoothly, but it can also collect hair and debris. If this wheel isn't maintained, it could affect dock alignment when charging.
Remove the caster wheel every few weeks to check for obstructions.
Gently pull out the wheel and clean it using a brush or cloth. A flashlight might help you see any buildup inside the slot.
Keeping this wheel tidy will help your Roomba navigate better and ensure proper docking.
Docking Station Upkeep
Your docking station should be kept clean and in an ideal location. Dust can accumulate on the sensors and surfaces, interfering with your Roomba's ability to dock properly.
Once a month, use a dust cloth to wipe the station, paying special attention to the parts that interact with the Roomba.
Place the docking station on a flat, unobstructed surface. A clutter-free area helps Roomba find its way and dock successfully.
Avoid placing the dock in areas with direct sunlight or near heat sources to prevent overcharging and potential damage.
Regular maintenance of these aspects will help maintain your Roomba in top working order.
Advanced Solutions
If your Roomba won't connect to the charger, it's crucial to look into more advanced solutions. These include resetting the device, reconditioning the battery, and using the iRobot Home App to diagnose and fix charging issues.
Resetting Your Roomba
Resetting your Roomba can solve many charging issues. Resetting prepares your Roomba to start fresh, which can resolve minor glitches that prevent charging.
To reset, start by removing your Roomba from the charging dock. Press and hold the "Clean" button for 10-15 seconds or until the unit powers down. This is your reset process.
For certain models, you might need to press more buttons in a series. Always consult your Roomba’s user manual for specific instructions.
Battery Reconditioning
Battery reconditioning helps maintain Roomba battery health. By reconditioning the battery, you enhance its lifespan and efficiency.
First, let your Roomba run until its battery is completely drained. This tells you if the battery needs refreshment.
After that, recharge it fully without interruption. Performing this cycle can help reset the battery's "memory," improving its ability to hold a charge.
Note: Don’t do this too often, as frequent deep discharges can harm battery life. Reserve this step for when you notice a decline in performance.
Consulting the iRobot Home App
The iRobot Home App can diagnose and offer solutions for charging problems.
Start by connecting your Roomba to the app through your Wi-Fi network.
Once connected, navigate to the support or troubleshooting section.
The app can provide specific notifications related to charging errors or updates that your Roomba might need.
Follow the in-app instructions to address detected issues. Often, firmware updates available through the app can resolve persistent charging problems.
Tips within the app might give you additional insights into extending your Roomba’s battery life or fixing charging errors. This makes the app a valuable tool for maintaining your device effectively.
Frequently Asked Questions
If your Roomba struggles with charging, knowing the common issues and solutions can help. Many problems, such as disconnecting after charging briefly or failing to power on, have practical fixes.
Why does my Roomba stop charging after a few seconds?
Your Roomba might stop charging quickly if there's a dirty connection. Clean the charging contacts on both your Roomba and the dock. Dust or debris can prevent a stable connection, causing interruptions.
What should I do if my Roomba won't turn on or charge at all?
First, check if the battery is seated correctly. Remove it and place it back to ensure a good connection. If this doesn't work, try resetting your Roomba by holding the "CLEAN" and "DOCK" buttons until you hear a beep.
How can I tell if my Roomba is properly charging?
Look for the Roomba's battery indicator light. When charging starts, a solid or pulsing light should appear. Keep track of the charging time; most Roombas take a few hours to charge fully.
Why is the charging dock light on my Roomba going off?
This might indicate a loose power connection. Ensure that the dock is securely plugged into the outlet. If the issue persists, test the outlet with another device to confirm it's providing power.
What steps should I take when my Roomba is fully charged but won't run?
Ensure your Roomba is clean, as debris can hinder its startup. If it's still not working, perform a reset. Also, inspect the battery and charging contacts for any residues or damage that might need attention.
What are common troubleshooting methods if my Roomba's docking station isn't working?
Check the power source and ensure the dock is properly aligned with your Roomba. Then, clean the charging plates on both units. If alignment and cleaning don't solve the issue, consider replacing the docking station.
Weitere Beiträge
Leberkäse Backen 500g: So gelingt er perfekt im Ofen!
vor 7 Monaten
Leberkäse Backzeit 1 kg: So gelingt er perfekt im Ofen!
vor 7 Monaten
Wärmflasche nach Spirale einsetzen: Was du wissen musst!
vor 7 Monaten